You've got a new video idea, and you want to shoot it by yourself. But how? You aren't ready to hire a professional videographer, and your friends don't know how to work a camera. That's where this article comes in! I'll teach you how to get started with shooting videos on your own so that you can start creating content right away.
Set up the background
Backgrounds are just as important as lighting for creating an interesting visual experience for your viewers. If your subject is in front of a blank wall or just against a solid color backdrop, the video will look boring and flat. In order to show off your talent and skill as a filmmaker, you need something more dynamic than that!
Here are some tips to help make sure that your background helps tell the story:
- Choose an interesting color scheme. Try pairing two complementary colors together like blue with red or purple with green. Or use one bright color along with black or white for contrast (but remember not to go overboard).
- Use props if possible—this can add ambiance and emotion into any scene! For example, having someone do yoga next to candles gives viewers an idea of what it might look like if they were actually doing yoga themselves instead of just watching someone else do it on screen...
The gear needed
The first step to shooting your own video is to get the right gear. You can either use a camera or you can use your smartphone. If you choose to use a camera, I highly recommend getting one with an articulating screen so that it's easier to see what you're shooting when you put it on the tripod. If you decide to use your phone instead of a camera, I'd suggest using an app like FiLMiC Pro which allows you to shoot in 4K resolution and gives superior image quality over other apps such as Instagram or Snapchat (which are just too low-res).
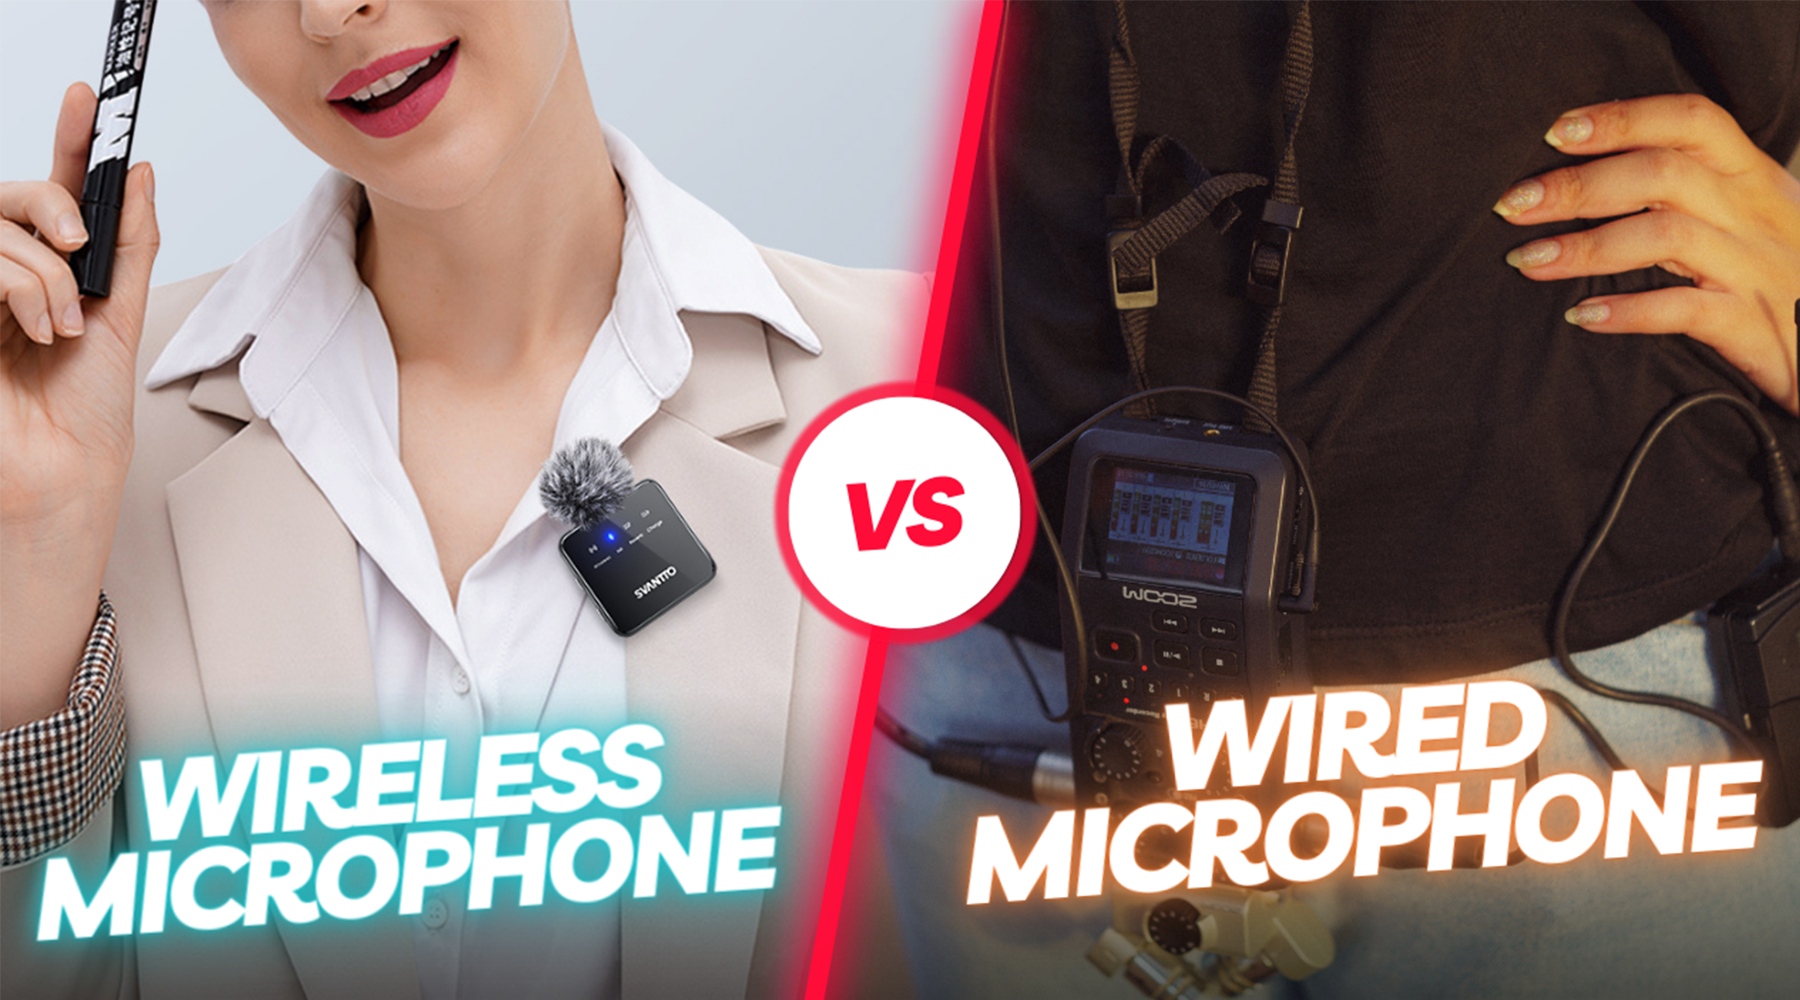
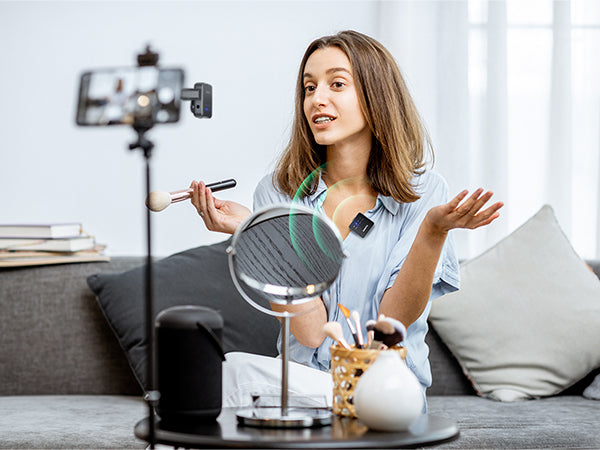
Another important piece of equipment is a wireless microphone system so that people will be able to hear what's happening during filming without being right next to the speaker's mouth (this sounds obvious but sometimes when we're filming people forget about this feature). I've had good luck with SVANTTO wireless lavalier microphone IWM01 which have been reliable for me over many years now.
Set up
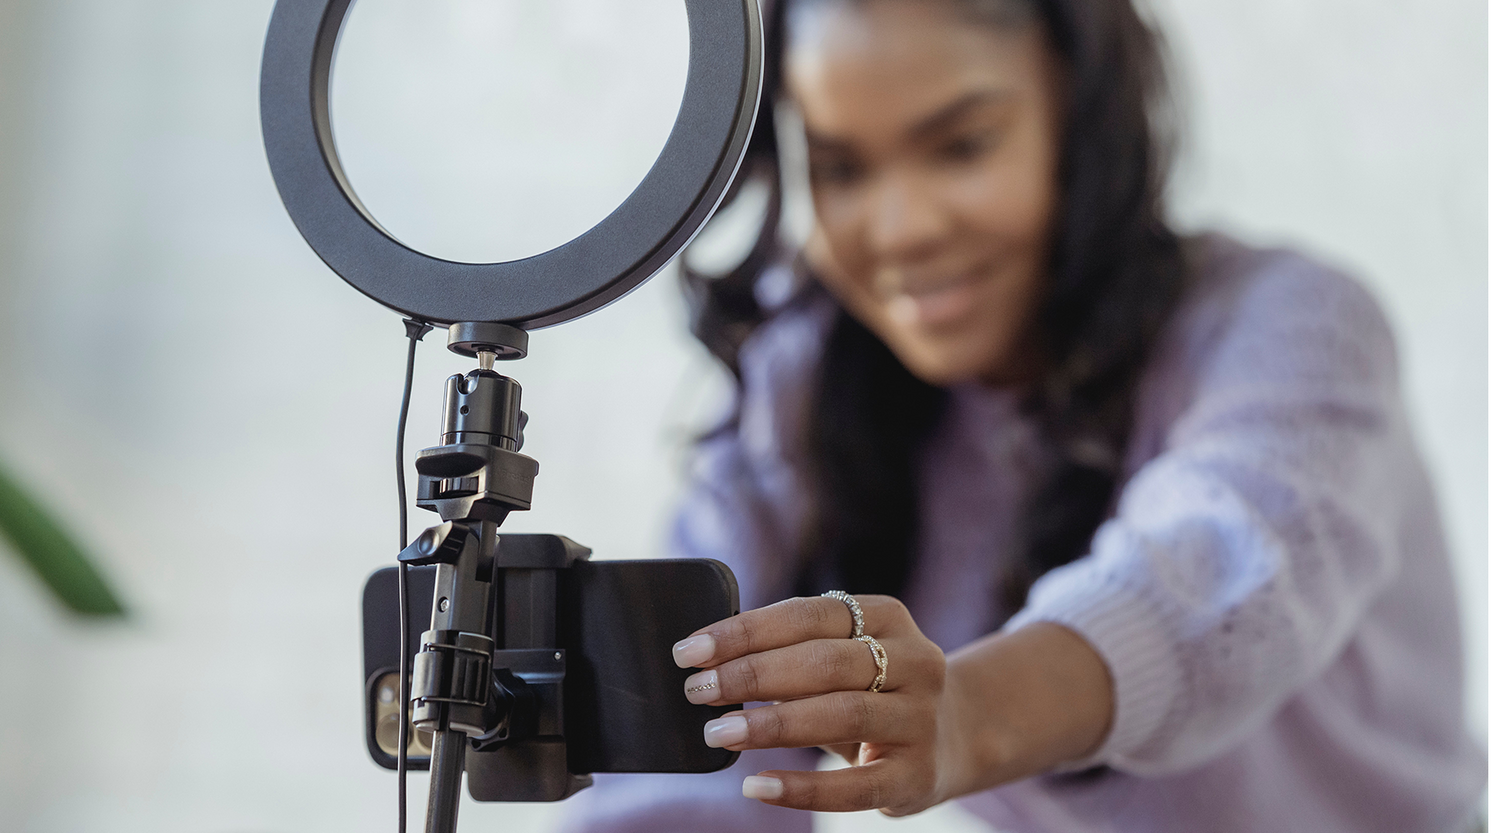
It's time to start setting up. First, lay your background down on the floor and make sure that it is large enough for you to stand in front of and still have a small amount of space behind the camera. You will be using this as a backdrop for your shot; if you have a window nearby, this can be especially effective because it creates natural lighting effects!
Next comes the camera angle: Position the camera slightly above your eyeline, then put cameras on tripods to keep everything stable and maintain a consistent visual look throughout each shot.
Another thing that needs careful consideration before shooting is audio quality—this includes both sound coming out from speakers/headphones and ambient noise surrounding them. Both can distract viewers from focusing solely on whatever message being delivered by whoever's speaking into their mic! You are highly recommended to get a microphone that has noise reduction feature, which only captures the sound you want to be recorded.
Start the shoot
- Be natural, take it easy and don't be afraid to make mistakes. You may have the best idea in the world, but if you're not able to present it well on camera, then it's not going to be very effective. The more comfortable you are with yourself and what you’re doing (even if its just playing a guitar), the better off everyone will be when it comes time for editing later on down the road.
- Mark each good take as they come along so that later on in post production (editing) there's less material being cut from out of nowhere due to clumsy mistakes or poor acting choices being made by other actors around them at different times during filming which could potentially cause confusion over why certain shots were used instead of others during editing sessions later down line like this one here today!
So, in the end, it’s up to you. You can use any of these methods or combinations of them to make great video content. But I hope my tips have helped you understand what your options are, and how they might affect your finished product.
You may also like: